In this chapter, we will study how to create a template in Joomla.
Creating Templates
Following are the simple steps to create templates in Joomla −
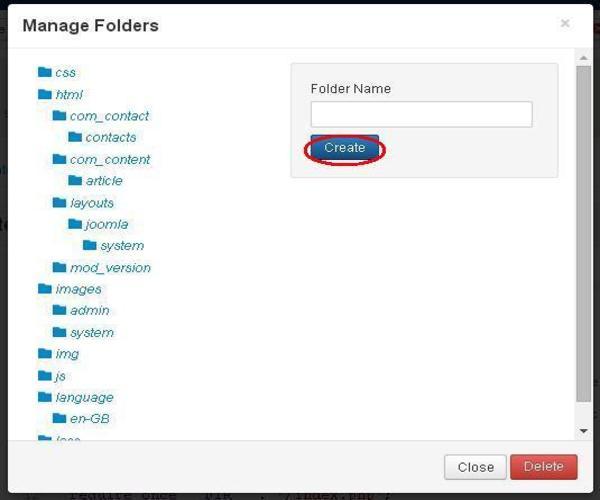
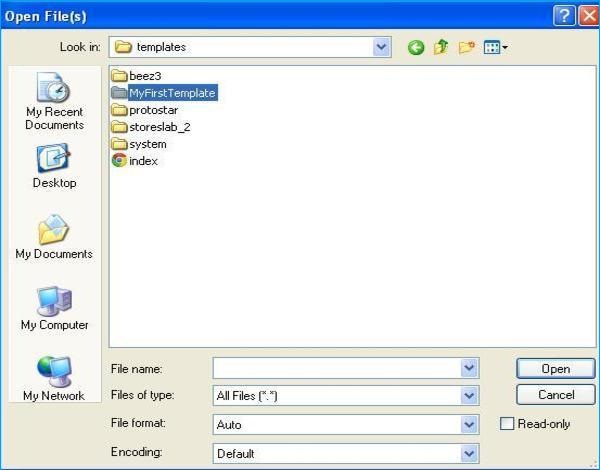
Step (1) − Create a folder called MyFirstTemplate inside your Joomla → Templates folder. Inside MyFirstTemplate folder, create 2 more folders named as images and CSS to save all the images and CSS files.
Step (2) − Inside MyFirstTemplate folder, create a file called as templateDetails.xml, without this file the template will not get displayed in Joomla.
templateDetails.xml
<?xml version = "1.0" encoding = "utf-8"?>

<extension version = "3.0" type = "template">
   <name>Tutorials Point</name>
   <creationDate>2015-06-13</creationDate>
   <author>Tutorials Point</author>
   <authorEmail>tutorials@example.com</authorEmail>
   <authorUrl>http://www.example.com </authorUrl>
   <copyright>Jack 2015</copyright>
   <license>GNU/GPL</license>
   <version>1.0.2</version>
   <description>My First Template</description>

   <files>
      <filename>index.php</filename>
      <filename>templateDetails.xml</filename>
      <folder>images</folder>
      <folder>css</folder>
   </files>

   <positions>
      <position>breadcrumb</position>
      <position>left</position>
      <position>right</position>
      <position>top</position>
      <position>user1</position>
      <position>user2</position>
      <position>user3</position>
     <position>user4</position>
     <position>footer</position>
   </positions>

</extension>
Details of the code
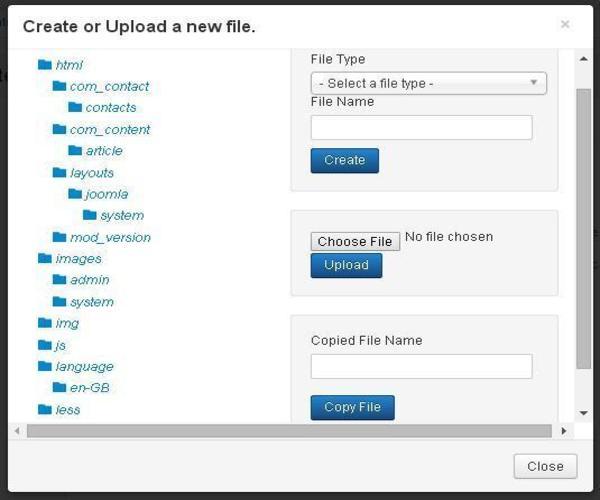
Step (3) − Create a file called as index.php. This helps in executing all the Joomla pages.
index.php
<?php defined( '_JEXEC' ) or die( 'Restricted access' );?>
<!DOCTYPE html>

<html xmlns = "http://www.w3.org/1999/xhtml" xml:lang = "<?php echo $this->language; ?>" lang = "<?php echo $this->language; ?>" >

   <head>                                         //head section
      <jdoc:include type = "head" />
      <link rel = "stylesheet" href = "<?php echo $this->baseurl ?>/templates/system/css/system.css" type = "text/css" />
      <link rel = "stylesheet" href = "<?php echo $this->baseurl ?>/templates/system/css/general.css" type = "text/css" />
      <link rel = "stylesheet" href = "<?php echo $this->baseurl ?>/templates/<?php echo $this->template; ?>/css/template.css" type="text/css" />
   </head>

   <body>                                          //body section
      <jdoc:include type = "modules" name = "top" />
      <jdoc:include type = "component" />
      <jdoc:include type = "modules" name = "bottom" />
   </body>

</html>

?>
Details of the code
<?php defined( '_JEXEC' ) or die( 'Restricted access' );?>
<!DOCTYPE html>
<html xmlns = "http://www.w3.org/1999/xhtml" xml:lang = "<?php echo $this->language; ?>" lang = "<?php echo $this->language; ?>" >
This code is used to tell the browser which type of html page is being used and begins the HTML document by describing the language used in the website.
<head>                                         //head section
   <jdoc:include type = "head" />
   <link rel = "stylesheet" href = "<?php echo $this->baseurl ?>/templates/system/css/system.css" type = "text/css" />
   <link rel = "stylesheet" href = "<?php echo $this->baseurl ?>/templates/system/css/general.css" type = "text/css" />
   <link rel = "stylesheet" href = "<?php echo $this->baseurl ?>/templates/<?php echo $this->template; ?>/css/template.css" type = "text/css" />
</head>
These lines are used to link the various stylesheets for the template in Joomla.
<body>                                          //body section
   <jdoc:include type = "modules" name = "top" />
   <jdoc:include type = "component" />
   <jdoc:include type = "modules" name = "bottom" />
</body>
Here in the body section, the jdoc is used to include the output in Joomla from some parts of Joomla system. The name = "top" is used to set the menu at the top.
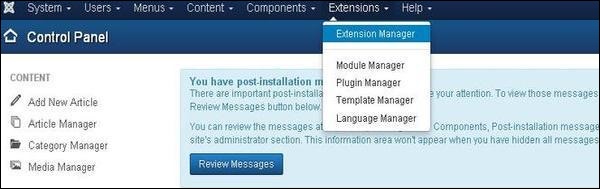
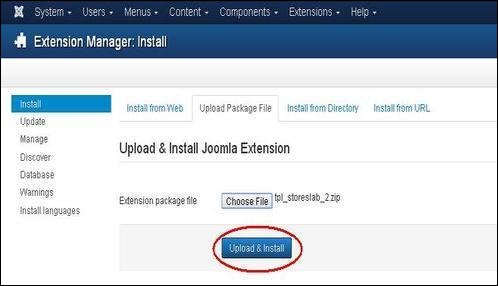
Step (4) − After creating these two files, login to Joomla and click on Extension → Extension Manager and the following page will get displayed.
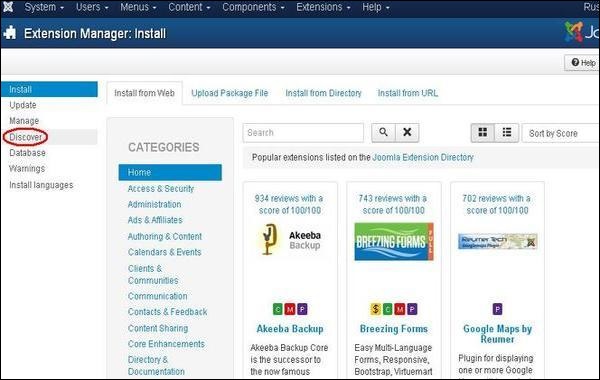
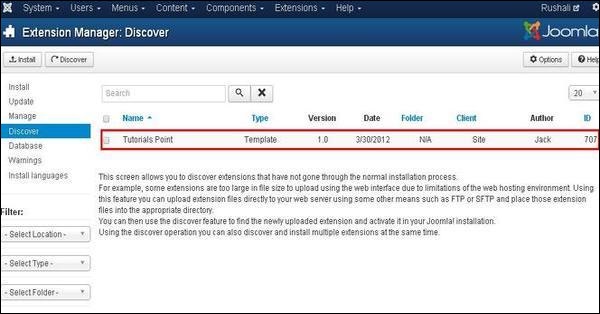
Step (5) − In the above page, click on Discover link, the following page is displayed.
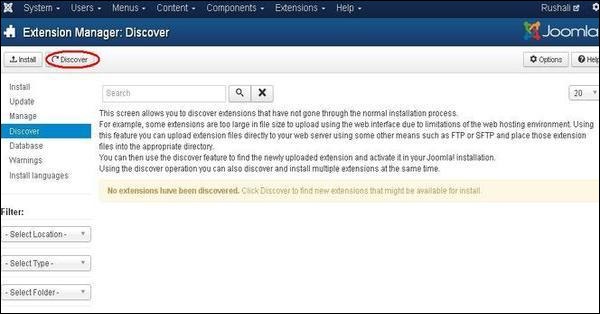
Step (6) − Next, click on the Discover button to discover the new created template as shown below.
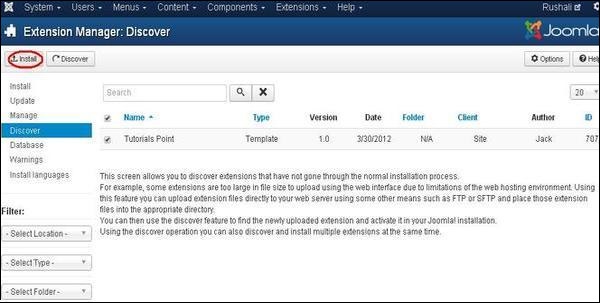
Step (7) − Click on the checkbox to select the template and click on Installbutton to install the template in Joomla.
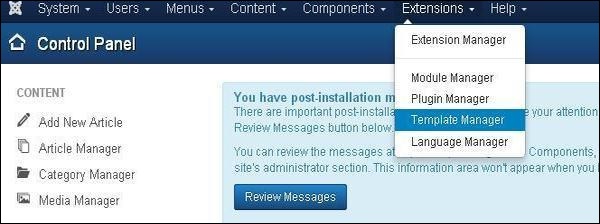
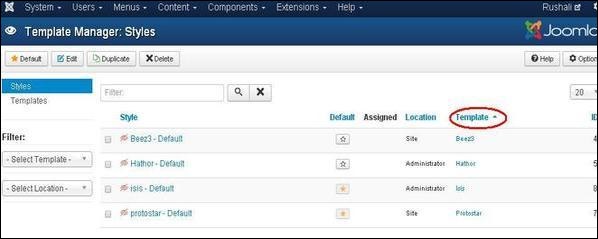
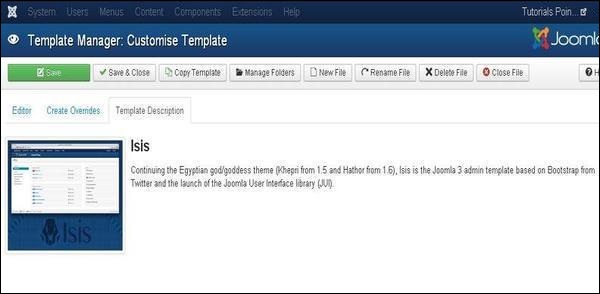
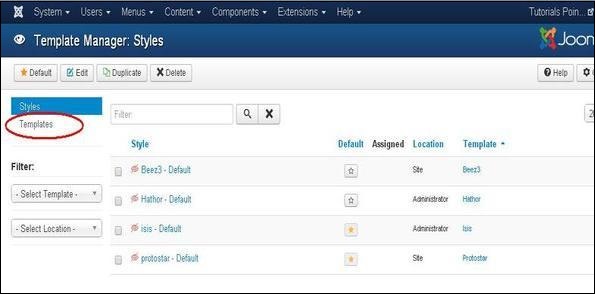
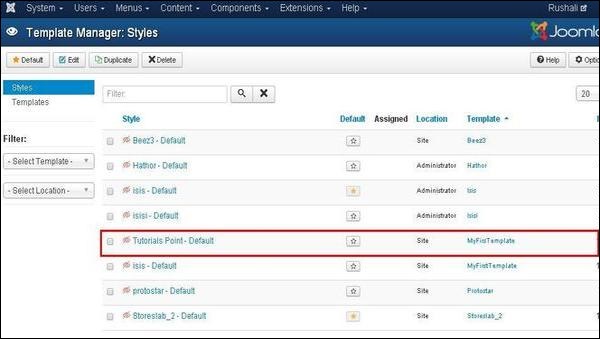
Step (8) − After installing template you can view your new created template by clicking on Extension → Template Manager. You will see your new created template is listed as shown below.
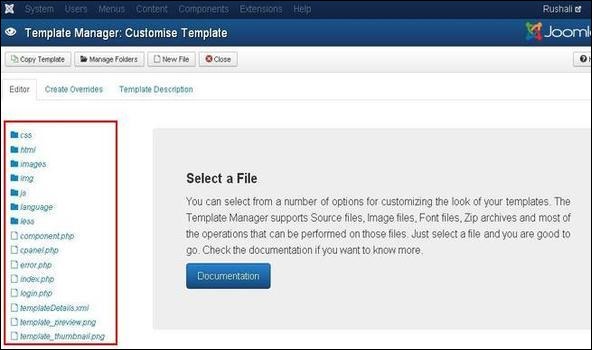
Toolbar
Following are the toolbar options in the Template Manager −
Default − Select the default template.
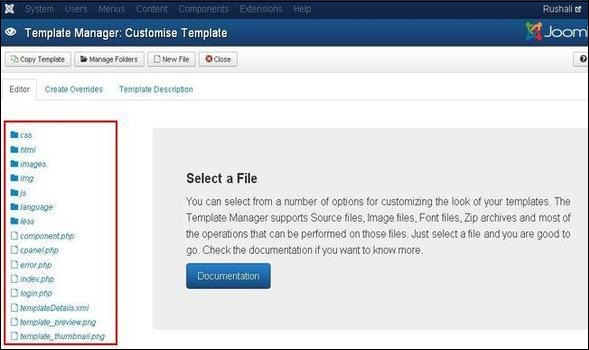
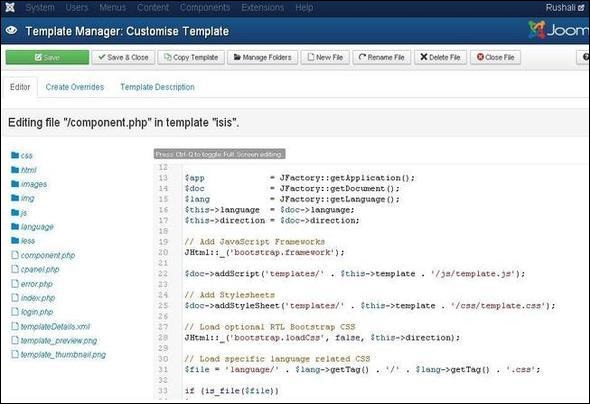
Edit − Select the template for editing.
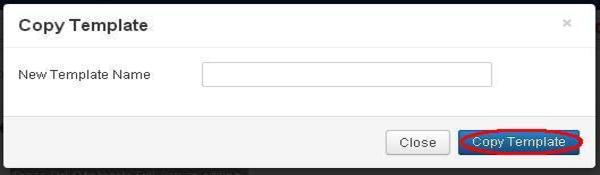
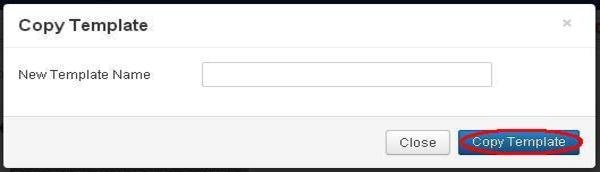
Duplicate − Duplicate the copy of the selected template.
Delete − Delete the template for Joomla.